Ever noticed your CPU running at 100% frequency in Task Manager? It might seem alarming, but understanding the reasons and solutions can help you keep your system running smoothly.
If your CPU maximum frequency is always 100%, it’s likely due to power settings, high usage, or BIOS misconfigurations. Adjust settings to improve efficiency and reduce heat.
Unlock your CPU’s full potential and optimize performance by managing frequency settings effectively!
Table of Contents
What Does CPU Maximum Frequency Mean?
The term CPU frequency refers to the number of cycles per second that your CPU can execute. Measured in gigahertz (GHz), it’s an indicator of the speed at which your processor operates.

A higher frequency generally means a faster CPU, but there are exceptions based on architecture, thermal constraints, and efficiency.
Why is my CPU maximum frequency always 100%?
If your CPU maximum frequency is always at 100%, it’s usually due to power settings configured for maximum performance, high CPU utilization from background processes, or BIOS/UEFI settings preventing frequency scaling.
This can lead to higher power consumption, increased heat, and reduced system efficiency. Adjusting your power plan, checking for high CPU usage processes, and enabling frequency scaling options in BIOS can help resolve this issue and allow your CPU to run more efficiently.
Read Also: Can Cinebench Damage Cpu – Protecting Your Cpu!
Potential Causes of CPU Maximum Frequency Sticking at 100%
Power Plan Settings:
Windows and other operating systems offer various power plans that dictate how system resources, including the CPU, should be managed. If the power plan is set to “High Performance,” the CPU will run at maximum speed, leading to higher power consumption and more heat.
Background Processes and High CPU Utilization:
Certain background processes, whether system-related or third-party applications, might be consuming more CPU resources than they should. This constant high utilization keeps the CPU at its peak frequency.
BIOS or UEFI Misconfiguration:
Your motherboard’s BIOS or UEFI might have certain settings that override the operating system’s control of the CPU frequency. Features like Intel SpeedStep (for Intel CPUs) or AMD Cool’n’Quiet can dynamically adjust CPU frequency but may be disabled inadvertently.
CPU Drivers and Operating System Updates:
Outdated or corrupted CPU drivers can cause frequency scaling issues. Likewise, missing system updates can impact how the OS interacts with the CPU, preventing it from effectively regulating clock speeds.
Malware and Software Bugs:
Malicious software or bugs in legitimate applications can cause abnormal behavior in CPU utilization, resulting in a frequency lock at 100%.
System Monitoring or Overclocking Tools:
Overclocking tools or system monitoring software might force your CPU to stay at a high frequency to display real-time statistics. Disabling these tools can often resolve the issue.
Negative Impacts of CPU Running at Maximum Frequency

- Increased Power Consumption: Running at maximum frequency leads to higher energy use, which can impact your electricity bill and reduce battery life on laptops.
- Excessive Heat Generation: Continuous high CPU frequency causes more heat, stressing the cooling system and potentially leading to overheating.
- Reduced CPU Lifespan: Constantly operating at full speed can shorten the CPU’s lifespan due to increased wear and tear.
- System Instability: High frequency may cause system instability, random shutdowns, and crashes, especially if the cooling is inadequate.
- Noisy Fan Operation: Cooling fans may run at higher speeds to manage heat, creating more noise and disrupting a quiet work environment.
How can I reduce my CPU’s maximum frequency from 100%?
Adjust Power Plan Settings:
Changing the power plan can often resolve frequency-related issues:
- Navigate to the Control Panel and select Power Options.
- Select “Change plan settings” for the power plan you have currently active.
- Select Change Advanced Power settings.
- Expand the Processor power management option.
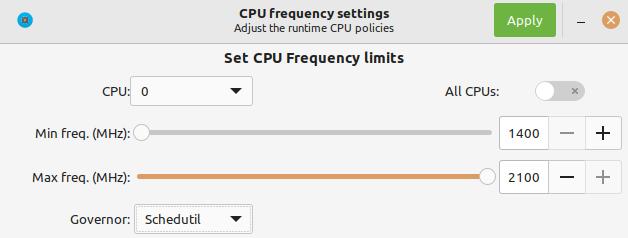
- Set the Maximum processor state to a lower value, such as 99%, and the Minimum processor state to around 5%. This allows the CPU to downclock during idle or low-load scenarios.
Check for High CPU Utilization:
- Open Task Manager (Ctrl + Shift + Esc) and check for processes consuming excessive CPU resources. Ending these processes can help the CPU scale down its frequency.
Update BIOS/UEFI and Enable Frequency Scaling:
- Enter the BIOS or UEFI settings during startup (usually by pressing DEL or F2).
- Look for settings like Intel SpeedStep (for Intel CPUs) or AMD Cool’n’Quiet and ensure they are enabled.
- Save your changes and exit the BIOS settings.
Update CPU Drivers and Operating System:
- Open Device Manager.
- Find your CPU under Processors.
- Right-click and select Update driver.
- Choose Search automatically for updated driver software.
Run a Full System Scan:
- Use a reliable antivirus or anti-malware tool to scan your system and eliminate any malware causing high CPU frequency.
Disable Overclocking or Monitoring Software:
- If you’re using any overclocking or system monitoring software, disable it and check if the issue persists. These tools might be forcing the CPU to run at maximum speed.
Read Also: Cpu Clock Speed Jumping Up And Down – A Step–By–Step Guide!
Check for Windows Updates:
- Ensure your Windows operating system is up to date. Sometimes, a patch might fix an underlying bug causing CPU frequency issues.
Reinstall the Operating System (If All Else Fails):
- As a last resort, you can consider reinstalling your operating system to eliminate any software-related issues that might be affecting the CPU’s behavior.
Verifying CPU Frequency Scaling
Once you’ve implemented these solutions, it’s essential to verify whether your CPU frequency scales correctly based on system activity.

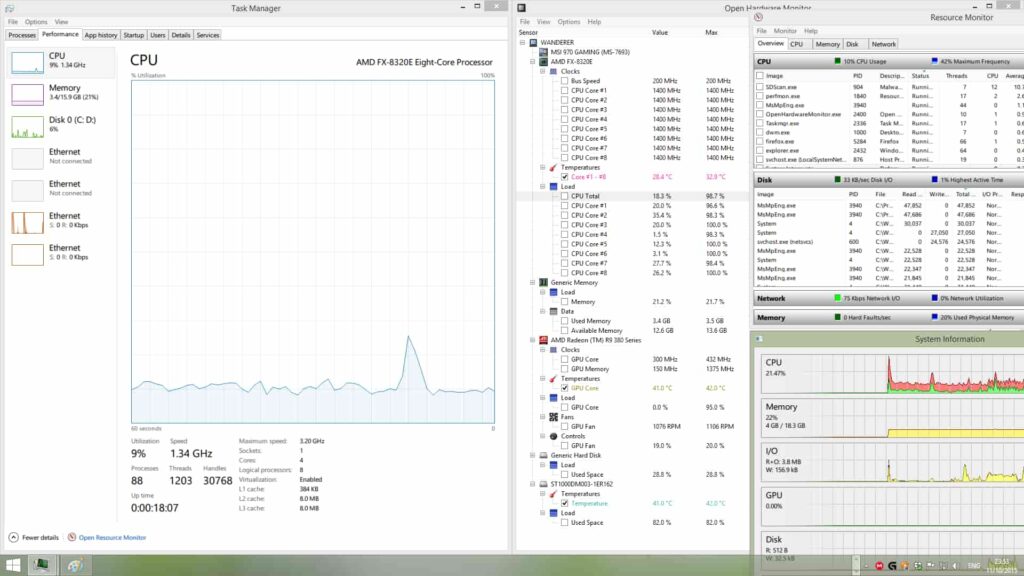
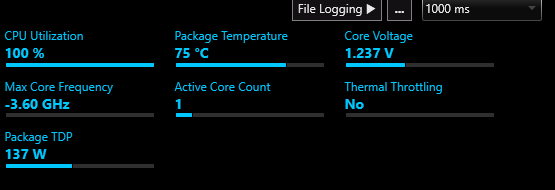
You can use tools like CPU-Z, HWMonitor, or the built-in Resource Monitor in Windows to observe how your CPU frequency changes with varying workloads.
- CPU-Z: Provides real-time statistics on CPU frequency, voltage, and core utilization.
- HWMonitor: Shows comprehensive details on temperatures, voltages, and fan speeds.
- Resource Monitor: Offers a basic overview of CPU, memory, disk, and network activity.
With these tools, you should be able to see your CPU frequency drop when the system is idle or running light applications and increase when performing more intensive tasks like gaming or video rendering.
Frequently Asked Questions:
1. What does it mean if my CPU frequency is always at 100%?
This means your CPU is running at its highest speed continuously, which can lead to inefficiencies and overheating.
2. Can malware cause my CPU to run at maximum frequency?
Yes, malware can consume system resources, keeping the CPU at 100% frequency and impacting overall performance.
3. How can I check if my CPU is actually running at maximum frequency?
To view real-time CPU frequency data, you can use monitoring tools like CPU-Z, HWMonitor, or Windows’ built-in Task Manager.
4. Does overclocking affect my CPU frequency?
Yes, overclocking increases the CPU’s maximum frequency, potentially causing it to run at high levels consistently, which can lead to heat and stability issues.
5. Is it normal for the CPU to reach 100% frequency during gaming or heavy tasks?
Yes, it’s normal for CPUs to hit 100% frequency during demanding tasks like gaming, but it should not remain at that level during idle times.
Conclusion:
If your CPU is always running at 100% frequency, it’s probably because of power settings, heavy usage, or BIOS settings. Changing these settings can help improve efficiency and lower heat.
Read Also:


